Through the Ages
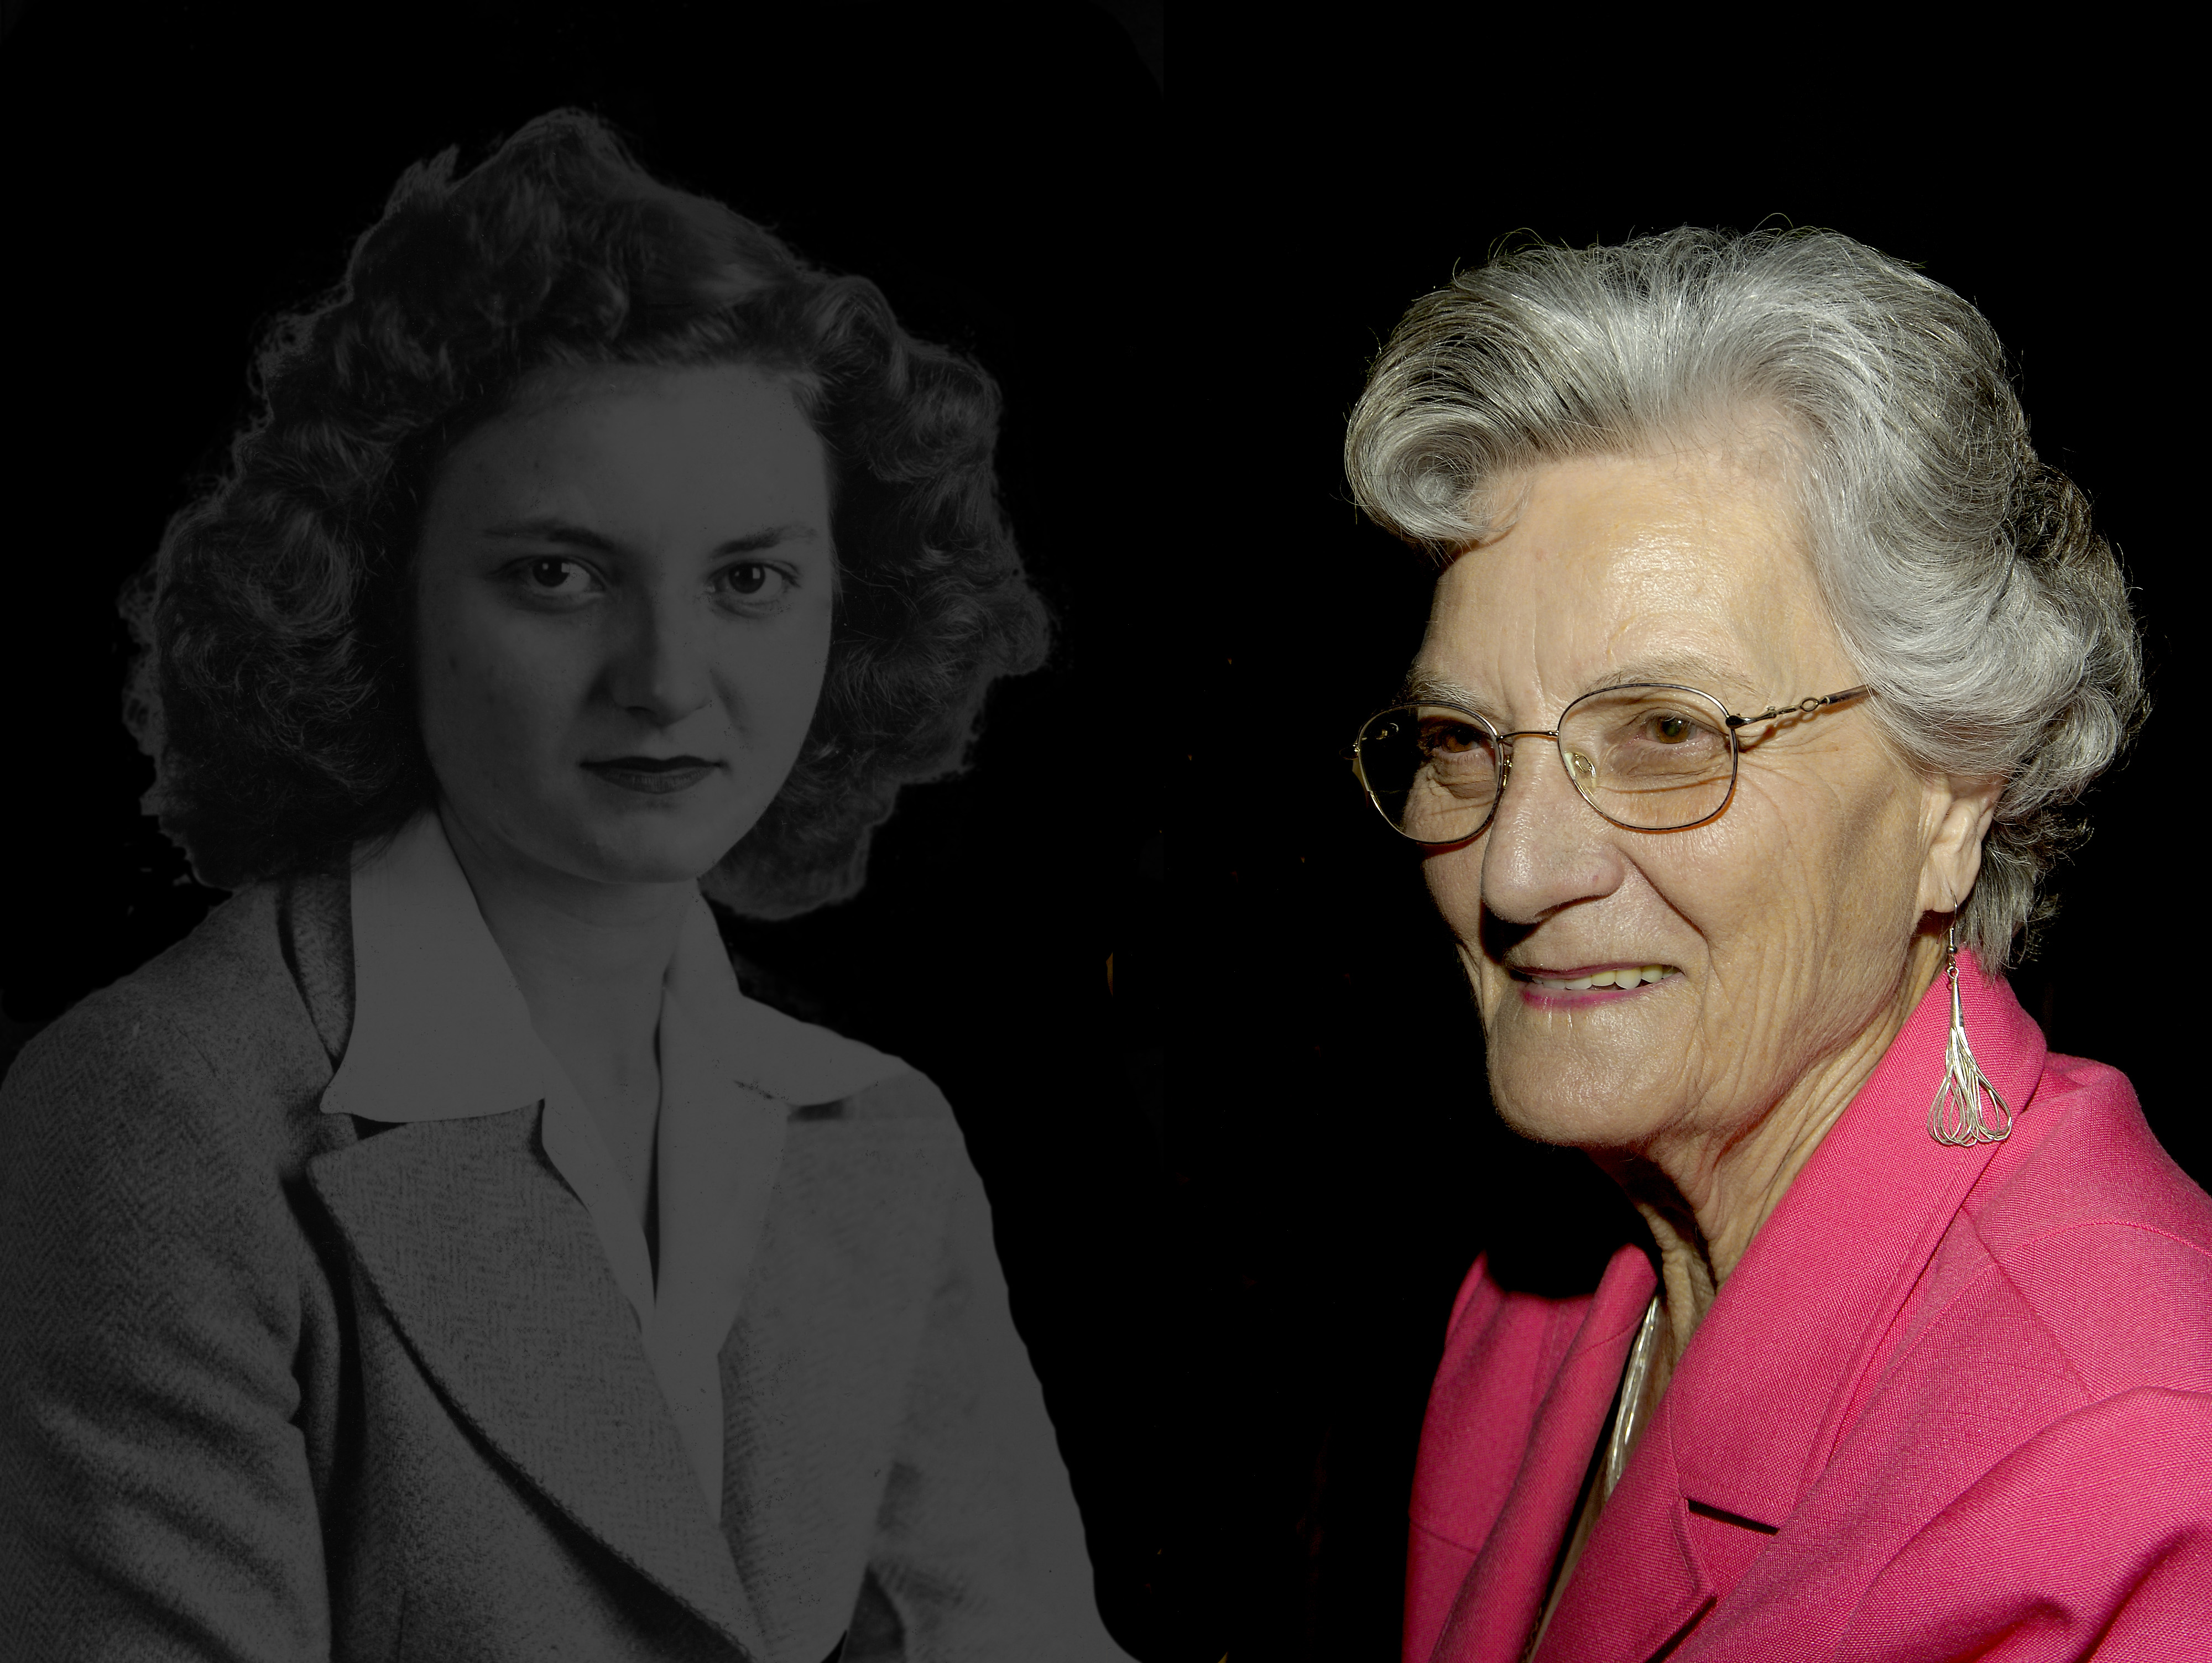
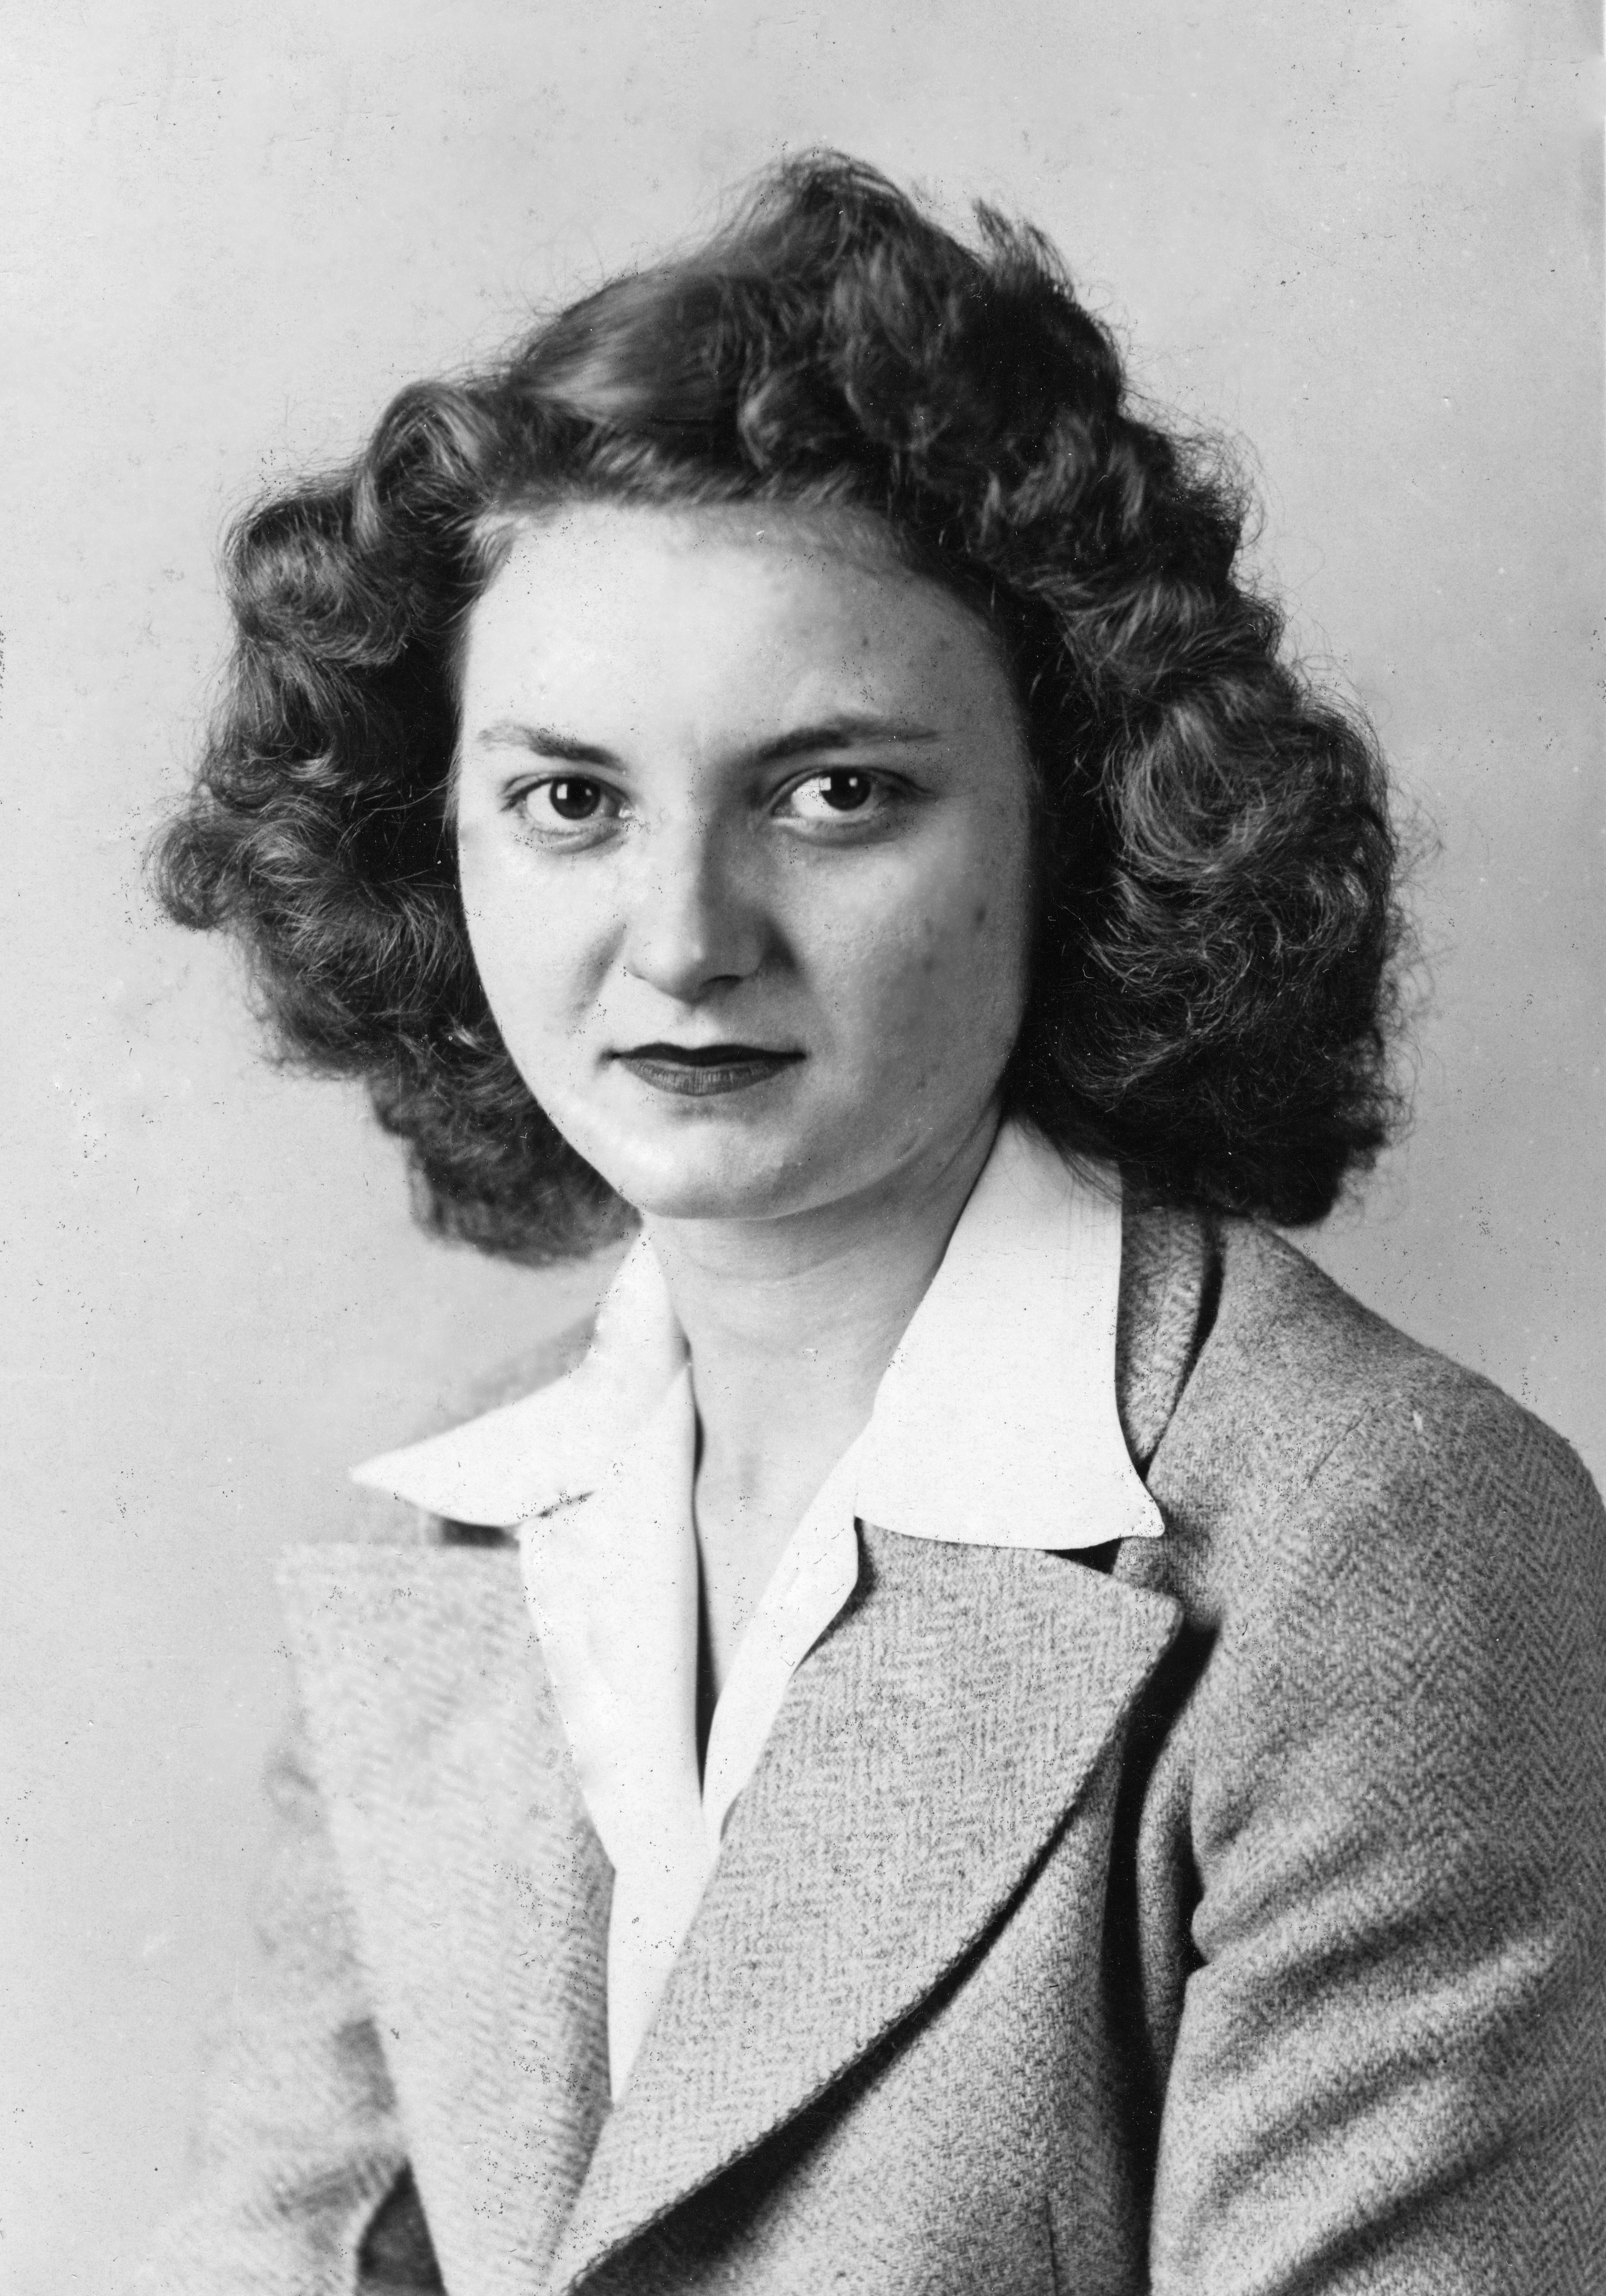
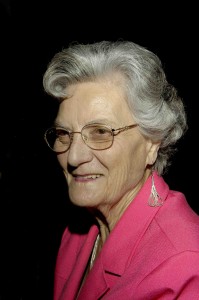
When my mom turned 80 we decided to throw here a party and invite friends and family to a celebration. I wanted to provide a memorable portrait of her and decided to juxtapose her current photo with her 16th birthday photo. I added drama to the composite by having both ages face each other and then fading the young her to light gray creating a ghosting effect. I then printed the photo 16×20 on canvas and displayed it at the party.
Everyone raved at the concept and later I created a similar photo, for a friend, who
accompanies World War II veterans to their memorial in Washington DC, and gave
the photo to the veteran on his birthday.
For my mom’s photo I had a recent photo with a black background which simplified to
process. However, you can use a conventional photo by selecting the subject and then placing on his or her own background layer.
I can create a similar photo for you. You will need a photo of the subject in their early years. If you do not have a recent photo of the subject, I can create one. Please contact me with your requirements so I can provide you with a quote and timeline.
If you want to create a similar effect, you will need a copy of a Adobe Photoshop and a scanner to digitize the early portrait.
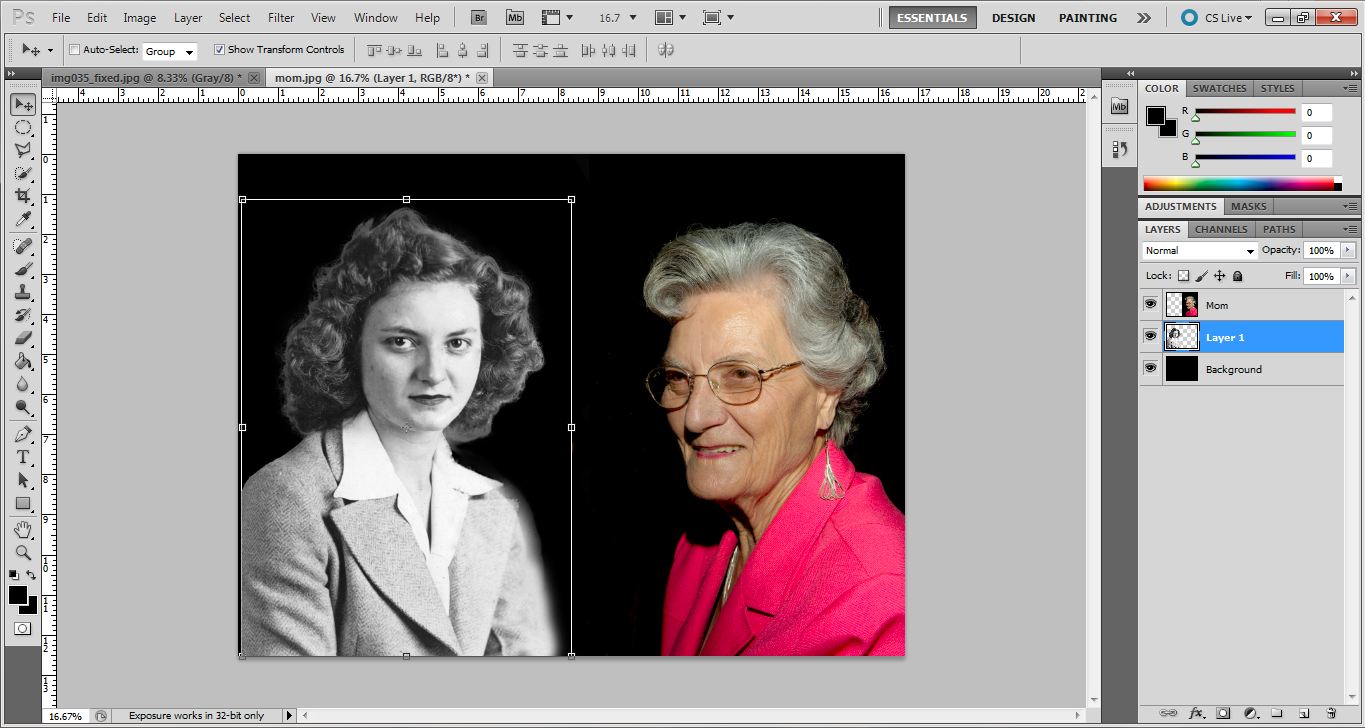
Startby loading the two photos into Photoshop. I first converted the portrait to a layer. Then I expanded the portrait size to accommodate the addition of the younger face. Use
File, Canvas size. My photo was 2000 x 3008 pixels and I expanded the size to 4000 x 3008 (expand 2000 pixels). I also created a new layer to be the background and filled it with black.
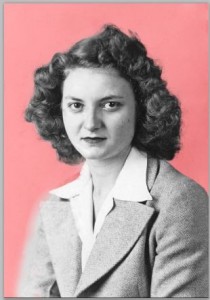
Next, I selected the background area of the younger portrait so the background would
not be included in the finished portrait. I know, that language is a little confusing but it’s easier to select what you don’t want instead of what you want. I first used the quick selection tool. Then, I converted to a mask and refined the selection to incorporate areas
that were difficult to select with the tool alone. Then I used refine edges to refine the hair
area and finally touched up the selection using the mask. Finally, I inverted the selection to capture only the young person. See, I told you all would be clear later and this is later clarification.
I copied the selection and pasted it into the expanded canvas of the other portrait. Then, I held the shift key and resized the copied portrait to best fit. Then, I flipped the selection vertically to have the young and old face each other.
The final step is to adjust the opacity of the young layer to 50% to produce the ghost
effect of the final picture.
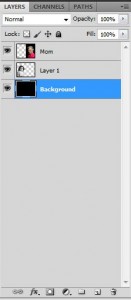 Note that the background is the bottom layer and that the other layers are on top of
black. This would be the same if you make a copy of the older portrait. Also, having the background on a different layer provides options for different background colors or variations.

This publication has inspired me to carry on focusing on my own blog
I discovered your blog using google. I must I am floored by your blog. Keep up the good work.